Paint Protection Film Installation Process: Step-by-Step DIY Guide for Beginners
(406) 239-2088 SCHEDULE TODAYProtecting your car's paint from scratches, chips, and grime doesn't have to mean repainting or costly repairs down the line. Paint Protection Film (PPF) offers a smart way to keep your vehicle looking new by acting like an invisible shield. While professional installation is an option, many car owners find that with the right steps and a bit of patience, they can successfully install PPF themselves. This guide walks you through the process in clear steps so even beginners feel confident tackling their own paint protection project.
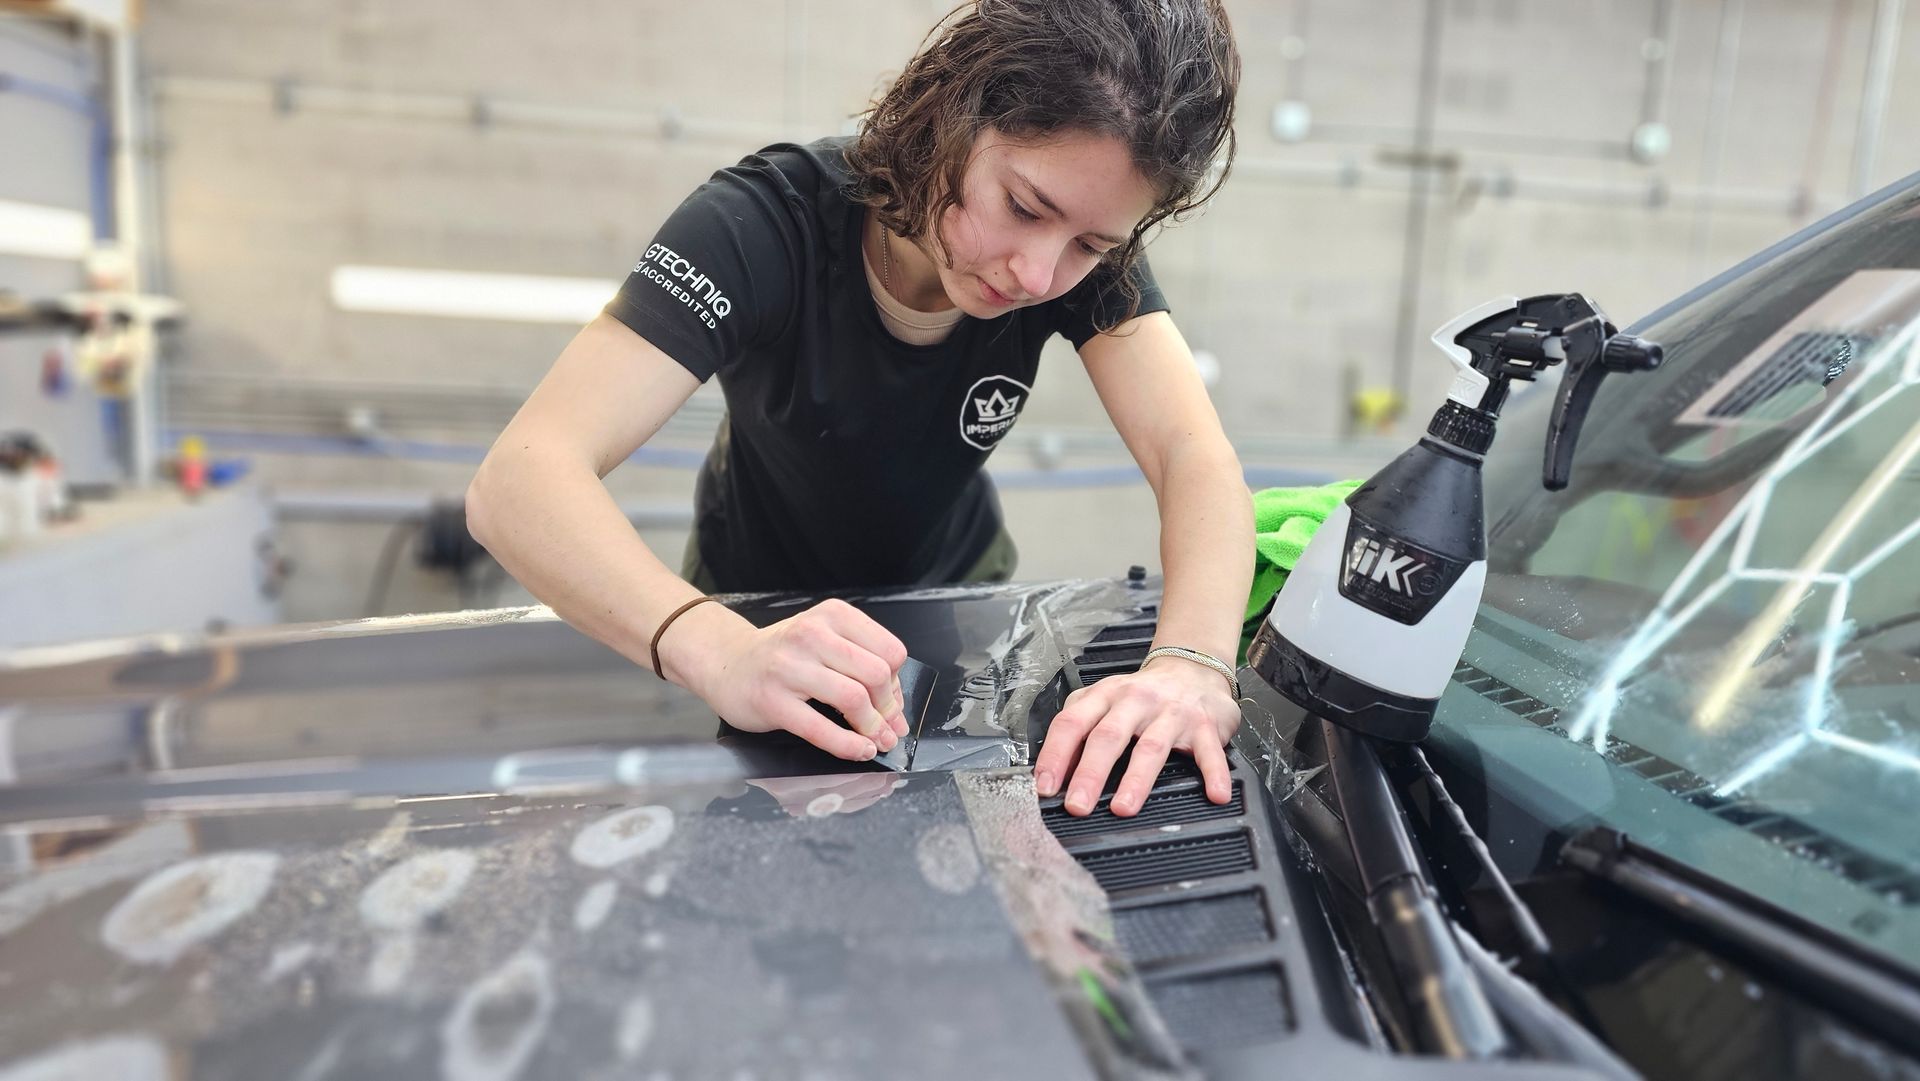
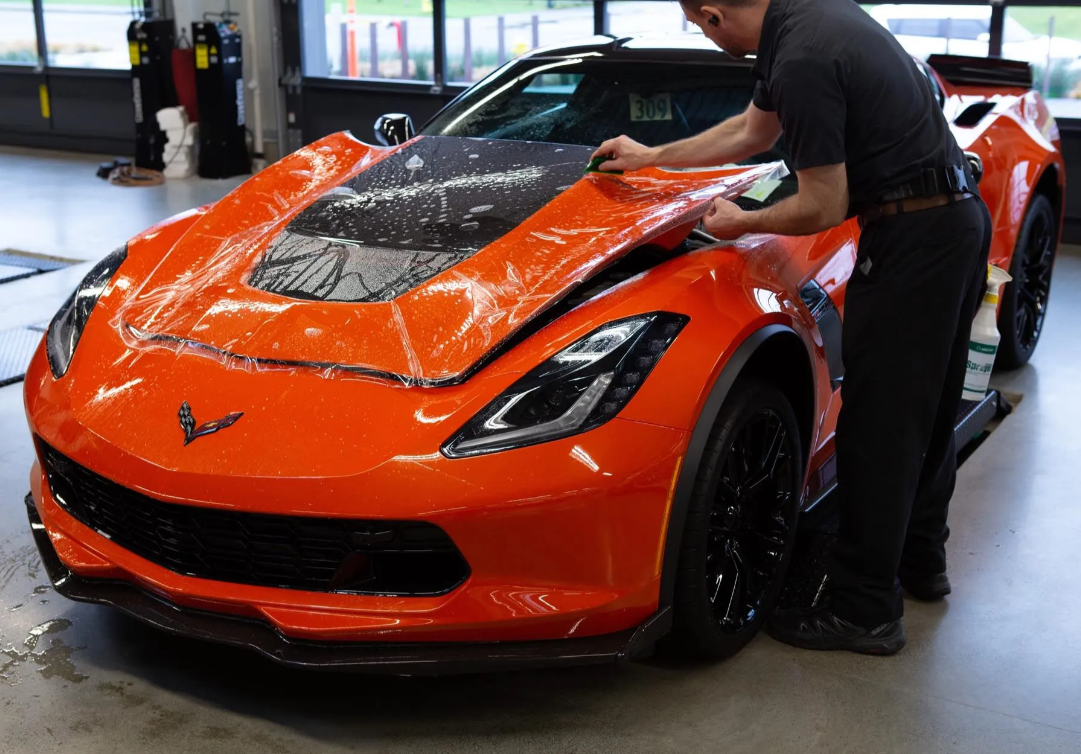
The PPF installation process starts with washing and decontaminating the panel, then mixing slip and tack solutions. Next, spray slip solution on both the panel and film to allow repositioning, align the film carefully, then tack the corners. Use a squeegee with overlapping strokes from the center outward to push out fluid and air bubbles, trim excess film at the edges, wrap edges tightly with heat to lock adhesion, and allow proper cure time indoors.
Choosing the Right Film
Selecting a PPF is about finding a balance between protection, appearance, and practicality. If you prioritize clear, invisible protection, films like XPEL Ultimate Plus and 3M Scotchgard Pro are well-known options offering excellent transparency alongside robust protection.
Durability varies widely. Premium films can endure tougher wear, resisting chips, scratches, and stains for up to a decade. But this toughness often comes with thicker films that can challenge even seasoned installers when fitting intricate curves or edges. Thinner films conform more easily but may sacrifice some impact resistance. For beginners, a mid-thickness film often strikes the right balance.
Advanced films also include UV resistance to prevent yellowing, a useful feature if you live in sunnier climates where intense sunlight can degrade lower-quality films rapidly. Self-healing technology is another standout feature, allowing minor scratches to fade within 24 to 48 hours through mild heat from sunlight or warm water.
- UV Resistance helps the film stay clear without developing yellow tones.
- Self-Healing extends film life by automatically repairing fine abrasions.
- Thickness influences both protective capability and workability during installation.
- Durability provides resistance against rock chips, bugs, and road debris.
- Clarity keeps your car's showroom shine visible without distortion.
Beware of counterfeit or "B-grade" films sold online at bargain prices. These often miss out on key qualities like clarity, adhesion longevity, or reliable warranty coverage, and can peel prematurely or discolor quickly. Also consider which areas of your car you want protected. Smaller flat panels like mirrors may demand less than bumpers or full hood wraps with complex curves and impact zones.
Preparing Your Workspace
A cluttered or dusty environment might not seem like a big deal, but even tiny dust particles trapped under the film can cause bubbles and imperfections that are tough, and sometimes impossible, to fix later. A clean, organized, and well-lit space is critical.
Clean Environment: Maintaining a dust-free area is essential. Wet down the floor before starting to significantly reduce airborne dust. Wipe down all surfaces near your work area with isopropyl alcohol and lint-free microfiber towels to remove oils and residues. Avoid opening windows or turning on fans during application, since airflow carries unseen dust into your work zone.
Adequate Lighting: Bright, even lighting is necessary so you can see every inch of the surface clearly. Overhead fluorescent lights work, but portable LED lamps offer flexible positioning. Place them at different angles so light reflects off the surface and exposes dust, wrinkles, or misalignments immediately.
Gather Tools: Keep everything within arm's reach on a clean table: squeegees in various sizes, spray bottles with freshly mixed slip and tack solutions, sharp blades for trimming, microfiber cloths, and a heat gun for post-install curing. Setting up in advance minimizes the risk of touching or contaminating the prepped panel.
Cleaning the Vehicle
A perfectly clean vehicle surface is the cornerstone of any successful PPF application. Even the smallest speck of dirt lodged under the film can cause bubbles or compromise protection.
Start with a thorough wash using a pH-neutral car shampoo designed for automotive use. Avoid dish soap or household detergents because they can strip wax or sealants, making the surface less receptive to adhesive. Water temperature should ideally be between 59°F and 77°F. Use a soft microfiber wash mitt to gently lift dirt without scratching, and rinse generously to flush out loosened particles.
Decontamination: Washing alone won't remove bonded contaminants like tree sap, industrial fallout, or brake dust embedded in your clear coat. A clay bar treatment becomes indispensable here. Use a clay bar lubricant continuously for smooth gliding, applying minimal pressure with gentle back-and-forth motions. Fold and knead the clay frequently to expose a clean area. Skipping decontamination leaves behind particles that cause bumps once covered by PPF.
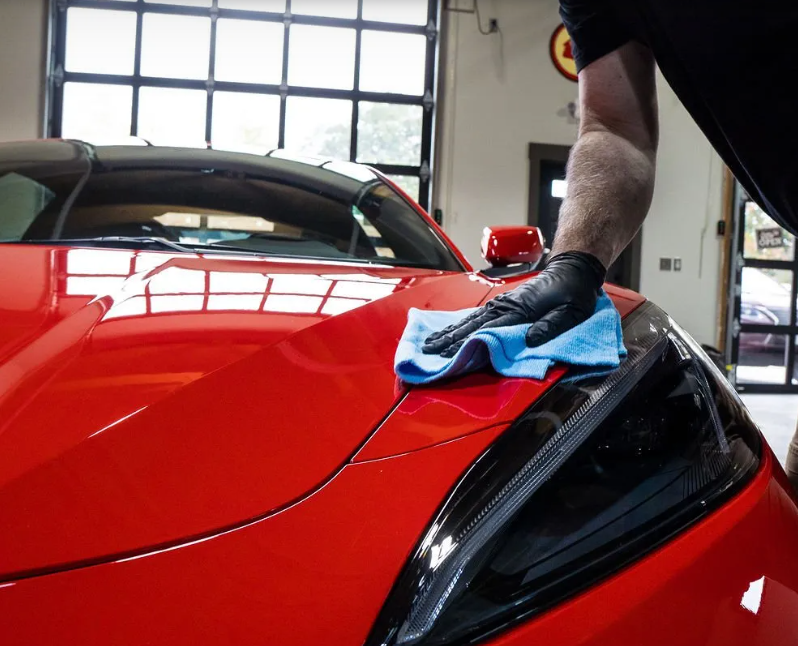
Alcohol Wipe Down: After rinsing and drying, wipe down every panel with a 70% isopropyl alcohol (IPA) solution using fresh microfiber towels. This removes lingering oils from waxes, polishes, or fingerprints that interfere with adhesion. Saturate the cloth lightly rather than spraying IPA directly onto paint. Allow at least 30 minutes for the surface to air dry completely.
Cutting the Film
Properly cutting PPF is where patience and precision intersect. For beginners, pre-cut kits are an excellent way to sidestep many issues, since they come cut to exact patterns for specific vehicle makes and models. The convenience comes at a higher price point, though.
If you're working without a pre-cut kit, manual cutting is common among DIY enthusiasts. Measure panel dimensions meticulously and always add an extra 1 to 2 inches around each edge for trimming room. Lay the film on a flat, dust-free cutting surface, ideally a self-healing mat.
An 11mm snap-off utility knife with fresh sharp blades provides excellent precision. Hold the blade at roughly a 30 to 45 degree angle while cutting slowly at about one to two inches per second. Applying too much pressure risks piercing the film or causing micro-tears prone to edge lifting. Score light lines first before making full cuts through thicker sections. Finish delicate edge work with fine-tip scissors or a precision trimming knife.
Clean, precise cuts help the film last longer by minimizing stress points where lifting often begins. Perform all cuts indoors between 65°F and 75°F to stabilize the film's elasticity.
Applying the Film
Always use the wet application method. Spray a generous amount of slip solution, made from distilled water mixed with a few drops of baby shampoo, on both the sticky side of the film and the car panel. This creates a slick surface that lets you reposition the film smoothly and prevents the adhesive from grabbing immediately.
When you lay the film down, don't panic if it doesn't sit exactly where you want. It can glide with gentle nudges. Avoid stretching the film too much during positioning, as this can cause distortion, thinning, or lifting later. Think of it like fitting a tight shirt; a little stretch helps contour to shape, but overstretching ruins the fit.
Once you're happy with placement, anchor the film by "tacking" the corners. Apply a tack solution made from isopropyl alcohol diluted with water directly on each corner and press down firmly but gently. Corners are critical because they're often where lifting starts.
Next is squeegeeing, the process of pushing out excess liquid from the center outward in overlapping strokes. Spray slip solution on top of the film before each stroke to reduce friction. Apply steady, even pressure to remove air bubbles and ensure strong contact between adhesive and panel. Going slow saves frustration; each pass seals more of that bond and removes imperfections before drying locks everything in place.
Removing Bubbles and Edges
Tiny air pockets can get trapped beneath the surface, marring appearance and allowing moisture or dirt underneath. The key to a flawless finish lies in mastering squeegee technique, edge wrapping, and controlled heat.
Squeegee Technique: Start from the center of each panel, pushing outward toward every edge. Use overlapping strokes so no pockets of air remain hidden between passes. Apply firm, consistent pressure at an angle between 30 and 45 degrees to maximize moisture displacement. Stubborn bubbles larger than about 5 mm may require a precise puncture with a fine needle to release trapped air.
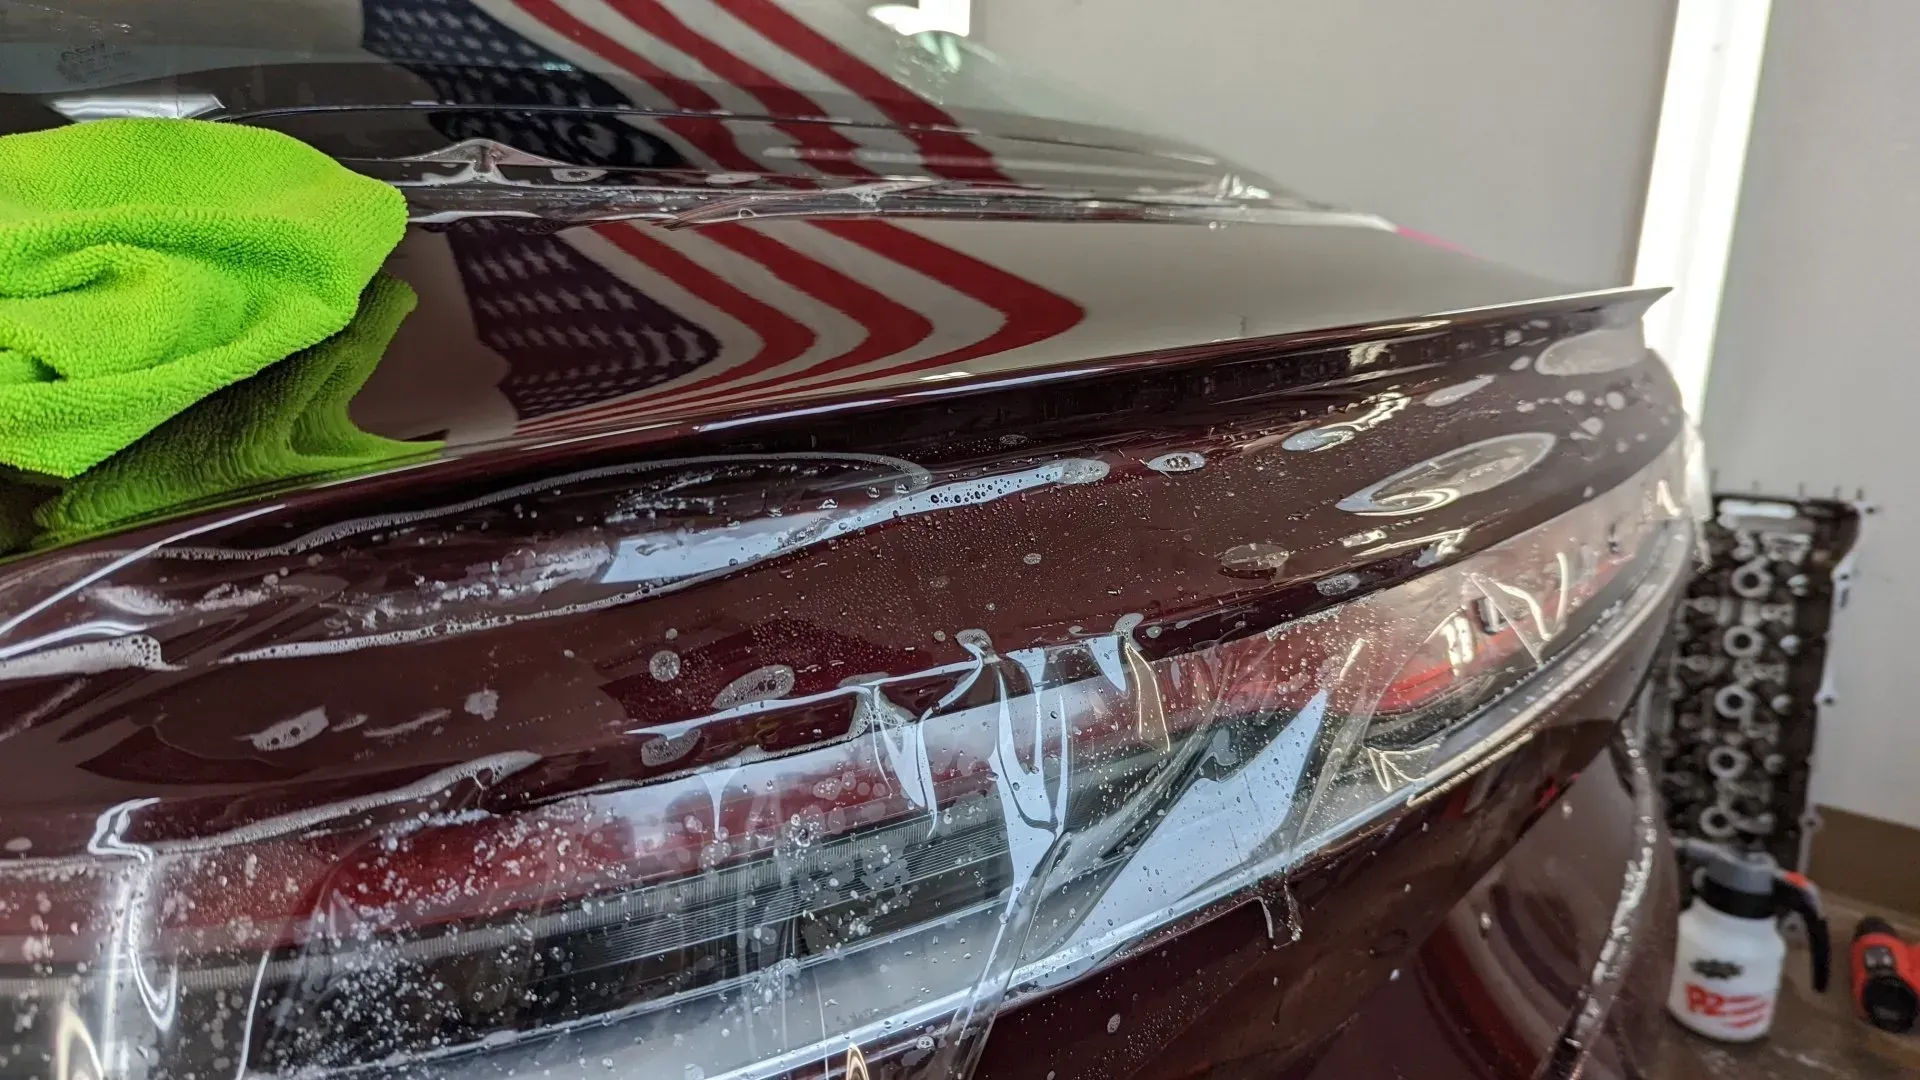
Edge Wrapping: Edges are vulnerable to lifting if not sealed properly. Use a hard card wrapped in a clean microfiber cloth to avoid scratching, and spray tack solution to activate adhesion. When wrapping around curves or tight corners, anchor the hardest-to-reach area first, then press into smoother surfaces gradually.
Fine-Tuning: Use a heat gun set to a moderate temperature to soften the film without melting it. Apply heat in short bursts of 10 to 15 seconds per section while pressing down with your microfiber-wrapped card. The warmth makes the film pliable so it conforms tightly to complex shapes and seals edges completely. This final heat lock-in often makes the difference between a mediocre job and a truly seamless finish.
After completion, allow several hours indoors for the adhesive to fully cure before exposing your vehicle to harsh weather. If you frequently encounter bubbles or edge lifts despite proper procedures, consider consulting professional installers such as Imperial Auto Spa, where advanced tools and hands-on experience help deliver flawless PPF applications.
Final Inspection and Maintenance
A thorough final inspection helps catch small issues before they become bigger problems. Use strong natural lighting or a bright LED lamp to reveal subtle bubbles, dust particles, or edges starting to lift. Slow down, crouch at different angles, and run your fingers lightly along the edges to detect any areas that don't feel flush.
If you catch imperfections at this stage, act swiftly using methods from earlier steps: gently lifting areas with a squeegee or applying more slip solution to reposition without disturbing adhesion too much.
Maintaining your PPF is equally essential. Wash with pH-neutral soaps designed for automotive finishes, and avoid ammonia-based products or abrasive cleaners that can scratch or degrade the surface.
| Maintenance Task | Frequency | Recommended Method | Notes |
|---|---|---|---|
| Weekly Wash | Weekly | Soft microfiber towels and pH-neutral soap | Removes contaminants while preserving film |
| Avoid Parking Under Trees | Ongoing | Park away from trees | Prevents staining from sap and bird droppings |
| Inspect Bi-Monthly | Every 2 months | Visual check for peeling edges, bubbles, discoloration | Early detection allows simpler repairs |
From our work alongside both beginners and seasoned hobbyists, those who commit to consistent inspection and gentle maintenance enjoy their PPF looking showroom-fresh for years longer. Keep in mind that temperature extremes, close-range pressure washing, or vigorous scrubbing can all degrade PPF prematurely.
Treat your car as you would a finely tuned instrument: with respect, patience, and thoughtful attention. Your efforts protect your investment without any visible barrier between you and that gleaming factory paint.
Protect Your Vehicle with Professional-Grade Paint Protection
While DIY Paint Protection Film installation can be rewarding, achieving a flawless finish on complex curves, edges, and high-impact areas often requires professional precision. At Imperial Auto Spa, our experienced team uses premium PPF materials and advanced installation techniques to deliver seamless protection built to last.
Whether you're looking for full-front coverage, complete vehicle wraps, or expert guidance on maintaining your film, we’re here to help protect your investment from scratches, rock chips, and everyday wear.
Call us at 406-239-2088 or schedule your consultation online and keep your vehicle looking showroom-ready for years to come.
FAQ Section
Is Paint Protection Film difficult to install?
PPF installation can be challenging for beginners, especially on curved panels and edges, but proper preparation and patience make DIY installation possible.
How long does PPF take to cure?
Most Paint Protection Films require at least 24 to 48 hours for initial curing, though full adhesion may take several days depending on temperature and humidity.
Can I install PPF myself?
Yes. Many DIY enthusiasts successfully install PPF using pre-cut kits, slip solution, proper tools, and careful application techniques.
What is the best temperature for PPF installation?
PPF is typically easiest to install between 65°F and 75°F because the film remains flexible and adhesive performance stays consistent.
How long does Paint Protection Film last?
High-quality PPF can last between 5 and 10 years with proper installation and maintenance.
Can bubbles disappear after PPF installation?
Small moisture bubbles often disappear during curing, while larger trapped air pockets may require additional squeegeeing or professional correction.